If you are a WordPress user, you may have encountered the term FTP, but what exactly is it, and why is it important for managing files on your WordPress site?
What is FTP, and Why is it necessary to manage WordPress files?
FTP stands for File Transfer Protocol. It is a standard network protocol for moving files between your computer (the client) and a server (WordPress hosting provider). It lets you send, receive, and handle files on your website’s server without needing the WordPress admin interface.
FTP is particularly useful when uploading large files, making bulk changes to themes or plugins, or troubleshooting issues that cannot be resolved through the WordPress dashboard.
It offers a safe and effective way to manage files on your website.
How FTP works, and what are its benefits for file management in WordPress?
You can connect to your WordPress server by entering your FTP credentials (username, password, and hostname).
Once connected, you can navigate through the server’s directory structure and perform various actions, such as uploading, creating directories, editing, and deleting.
If you encounter any login issues, take the opportunity to discover effective ways to resolve the wp-admin problem by exploring the insights provided in this informative article.
Here are some benefits of using FTP for file management in WordPress:
- Efficient and Flexible: FTP enables fast file transfers between your computer and the server, granting greater control and flexibility for direct server file management.
- Bulk File Management: FTP allows for simultaneous upload and download of multiple files, saving time compared to the WordPress admin interface.
- Troubleshooting and Recovery: FTP offers access to vital WordPress files in case of admin area errors, aiding in troubleshooting and site recovery.
By familiarizing yourself with FTP and using it to manage your WordPress site’s files, you can gain more control and streamline your file management processes. So, consider trying FTP and see how it enhances your WordPress site management experience.
Setting Up FTP for Your WordPress Site:

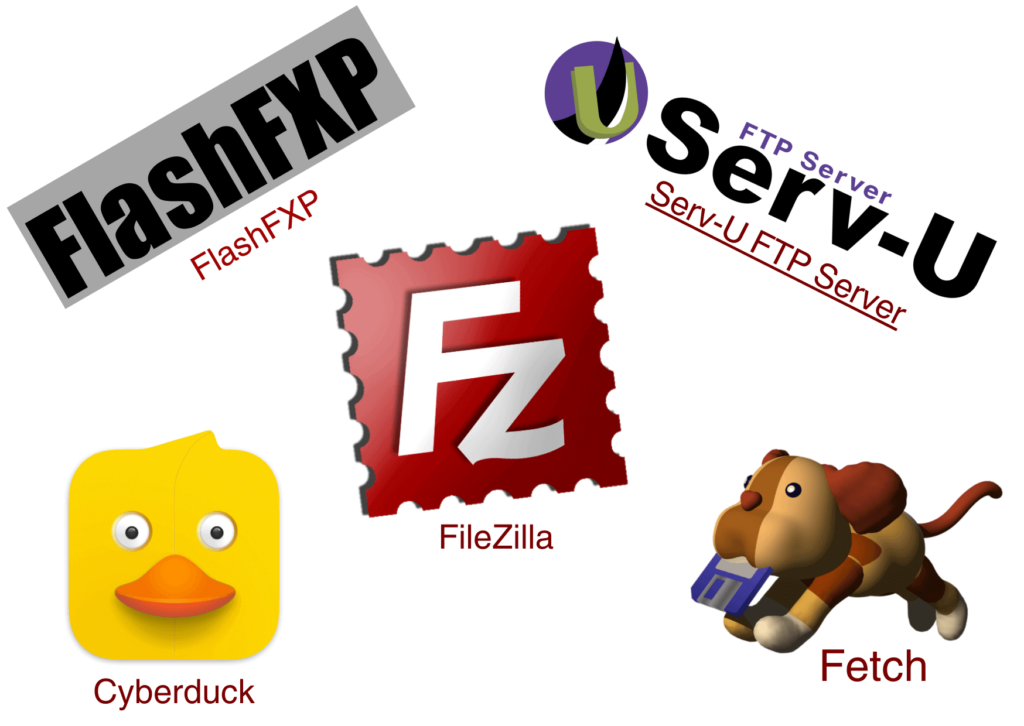
Choosing the right FTP client for your needs: Several FTP clients are free and paid, each with their own features and interfaces. Some popular choices include FileZilla, Cyberduck, and WinSCP. Before you decide, think about how easy it is to use, whether it works well with your computer’s system, and what features you need.
Installing and configuring the FTP client on your computer:
- Choose an FTP client and install it.
- Download from the developer’s website and follow OS-specific instructions.
- Launch the FTP client and configure connection settings: FTP server/host, username, password, port, and protocol (FTP or SFTP).
- Start managing files on your WordPress site: upload, organize, and edit theme/plugin files.
- Be cautious with FTP file access and modifications.
- Create backups and seek guidance if uncertain.
- Gain control and flexibility in WordPress file management by using an FTP client, a valuable skill for developers and website owners.
Gathering the necessary FTP credentials from your hosting provider.
You’ll need specific information to connect to your website via FTP:
- Hostname (usually your domain name).
- FTP username and password.
- Port number (usually 21).
Configuring the FTP client with the correct connection details:
Here’s how you can set up your FTP client with the correct connection details.
- Install the FTP client of your choice on your computer.
- Open the FTP client and navigate to the settings or preferences section.
- Enter the FTP Server address, username, and password in the appropriate fields.
- Choose the appropriate port number (usually port 21 for FTP or port 22 for SFTP).
- Click on the “Connect” or “Login” button to establish a connection to your WordPress site.
Once connected, you can navigate your site’s file system and perform tasks such as uploading, downloading, and managing files and folders effortlessly.
Uploading Files to Your WordPress Site:
WordPress is a powerful tool that makes it easy for you to build and control your website. While you can upload files directly within the WordPress dashboard, using FTP (File Transfer Protocol) gives you more control and flexibility. Here’s how to upload and manage files on your WordPress site using FTP.
Navigating the file system of your WordPress site using the FTP client:
- Download and install an FTP client like FileZilla or Cyberduck.
- Open the FTP client and input your website’s FTP credentials (host, username, password, and port), which can be found in your hosting account or obtained from your hosting provider.
- Once connected, the FTP client interface will display two panels: the left for your local computer files and the right for your WordPress site’s file system.
- To navigate your WordPress site, go to the “public_html” or “www” folder in the right panel where your WordPress files are stored.
- Explore different folders by double-clicking them in the right panel, but exercise caution when making file modifications to avoid breaking your website.
Transferring files to the appropriate directories on your site:
- Find the file on your local computer in the left panel.
- Drag and drop it to the desired folder in the right panel, e.g., “wp-content/uploads” for images in the Media Library.
- The FTP client will transfer the file to your WordPress site; the duration depends on the file size and your internet speed.
- Once uploaded, you can access it via your WordPress dashboard.
Managing Files on Your WordPress Site:
If you’re a WordPress user looking to manage your files more efficiently, using FTP (File Transfer Protocol) can be a great solution. It allows you to upload, download, delete, and organize files on your WordPress site using an FTP client. Here are a few key points to help you get started:
Renaming files and folders using the FTP client.
To change the name of a file or folder on your WordPress site using an FTP client, follow these steps:
- Connect to your WordPress site using an FTP client.
- Locate the file or folder.
- Right-click and choose “Rename.”
- Enter the new name and press “Enter.”
Deleting and moving files within the WordPress file system.
To delete or move a file or folder on your WordPress site:
- Connect with an FTP client.
- Find the file or folder.
- For deletion: Right-click and choose “Delete.”
- For moving: Cut and paste into the new folder in the WordPress file system.
Troubleshooting FTP Connection Issues:
Common FTP connection errors and their solutions.
Here are some common FTP connection errors and their solutions:
- Connection timeout: Occurs when the connection takes too long. Resolve it by adjusting firewall settings, turning off conflicting plugins, or trying a different FTP client.
- Invalid login credentials: Can’t connect due to incorrect username or password? Double-check for typos and, if needed, reset your FTP login details.
- Permission denied: This happens when you lack access permissions. Ensure your FTP user has appropriate file permissions for management.
FTP Best Practices for WordPress:
When it comes to managing files on your WordPress site, using FTP (File Transfer Protocol) can be a powerful tool. However, it’s important to keep security in mind while using FTP.
Here are some considerations to keep your site safe:
- Secure FTP: Encrypt data by using FTP over SSL/TLS.
- Strong login: Use a robust username and complex password to prevent unauthorized entry.
- Limited FTP access: Restrict FTP to trusted users, reducing unauthorized risks.
Conclusion:
FTP is a powerful tool that can enhance your WordPress site management capabilities. While the WordPress dashboard is excellent for everyday tasks, FTP provides a deeper level of access and control over your website’s files and directories. Following this article’s instructions, you can confidently use FTP to upload, handle, and resolve issues on your WordPress site.
